We were in Maui last month and I picked up an Island Girl nail polish that I thought could work for a more demure looking french manicure. So this is what I did. Sally Hansen's Magnetic "Graphite Gravity" has a very nice sheen without the magnet texturing. So that is the base coat. Then I used Island Girl Hawaii's "Polynesian Heat" for the french tip because it also has a pearly sheen.
I added Colour Club's Art Club "Silver Glitter" for the fine line of glitter.
Hi again. I couldn't sleep last night so I stayed up late and tried another nail art design, "Drizzled Chocolate Covered Strawberries"! This was easier than I thought when I first saw someone else's rendition. I used a base coat of Rimmel's "Stiletto Red". Then I added Revlon's "Hot for Chocolate" to make it look like a strawberry had been dipped in chocolate.
Now I tried a form of the spun sugar technique. I dropped Sinful Colors "Snow Me White" onto a clear hard plastic backing from a carton just so it would be sturdy. I find that Sinful Colours is more tacky than other whites and easy to use for this technique.
Then you wait a little while for the white to get tackier and pull it across the chocolate part of the nail with a dotting tool, (you could also use a toothpick) randomly to look like it's been drizzled. And voila! Just add some strawberry seeds spots on the red and its done!
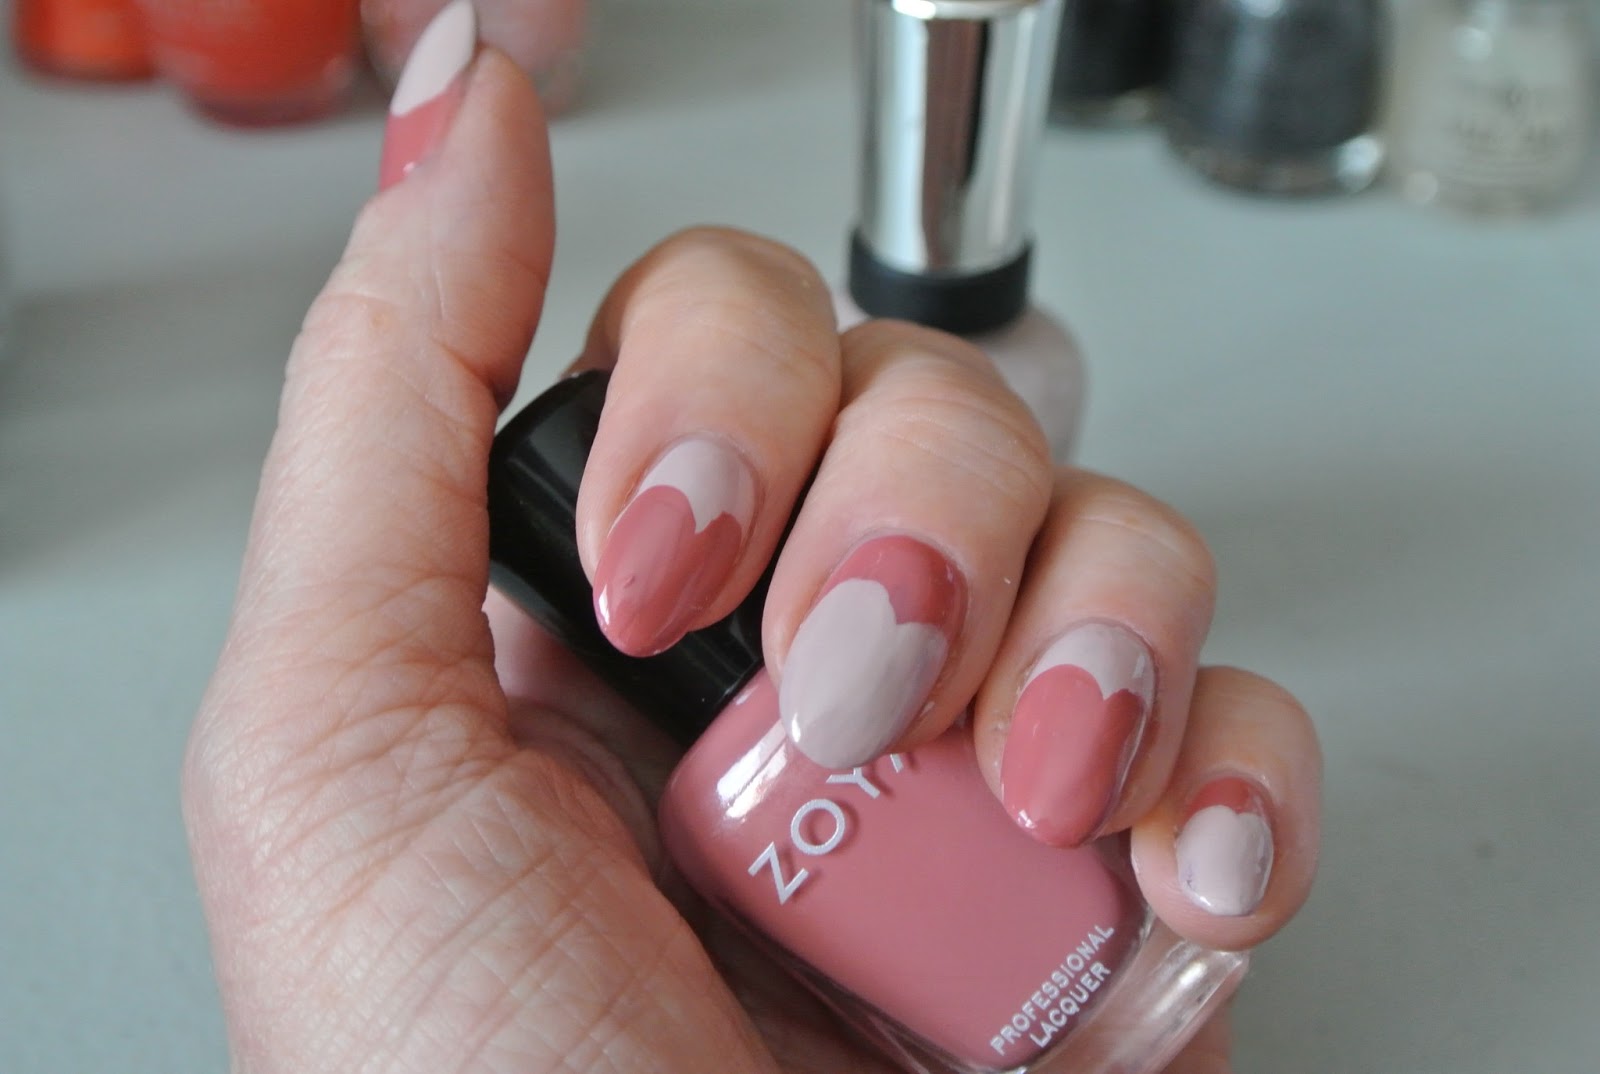
Next, to continue on the valentine's theme, I tried something I'd seen on Pinterest but I used my colours. I did every other nail the base coat of Zoya's "Penelope" and the rest of the nails' base coat of Sally Hansen's "Gray-t Escape".
Then I made a heart shape at the top of each nail in the opposite colour.
I tried one last thing by adding dots outlining the tops of the hearts. Not sure if I like this or the plan hearts better.
Ok, I had fun with this nail art. I used Covergirl's "Black Diamond" as my base coat for the french tip. Then added dots of China Glaze "Flyin' High", "Sugar High", and Sally Hansen's "Ivy League".
I've done many nail art designs during this past week. The first one I'll call, "New York Bling". I used Illamasqua "Glitterati" for the first coat and then added some more sparkle with NYC "Big City Dazzle".
Since my store, Posers Gallery, closed it's doors Dec. 31st, I have been helping my daughter get ready for her upcoming course as an Esthetician at MC College. Really I went on the internet, initially through Pinterest (which is a fantastic source of information!!), to learn about nail design. Since I have gel nails and really enjoy watching my technician do her creative work, I have been getting more and more excited about trying nail art myself. So I thought why not add an artistic flair with nail polish to my Blog! Glass art is very exciting and I still have a wonderful course coming up in March with Robert Leatherbarrow. But I thought during this time when my daughter will become nail proficient, I will show some form of solidarity with her learning and change up my blog to contain my nail art design from self learned methods. In other words, I will try to do as many nail art designs that I have found on Pinterest and other nail polish blogs and show them off here on my blog!
So since Valentines is this week, here is my first attempt at a nail art design from what I've learned so far. I used China Glaze Sugar High as the base coat and then Nicole by OPI Believe it, Do it as the middle and little fingers' hearts. Then Colour Club art club white for the white horizontal line. I stamped Konad M-73 for the hearts as the french tip. My clean up wasn't very good so I'll try better next time. But I've had compliments from checkout clerks, so I guess it was acceptable. Despite it all, I had fun trying out nail pens, polishes and stamping!
Ok here is the before and after results of a surface tension technique I learned in Florida last month. I don't think the pattern changed much at all when I added an opaque yellow to the back when fusing.